A floor rarely announces that it needs stripping. It simply stops responding to routine cleaning: the lobby reads dull however recently it was mopped, the corners have gone amber, and scuff marks that used to lift with a scrub now sit there permanently. Knowing when to strip and wax floors — and when not to — is what separates a floor care budget that works from one that quietly doubles.
So the work gets ordered, a crew spends a weekend on it, and the floor looks excellent on Monday — then hazes over again before the quarter is out. That result is almost never a chemistry problem. Either the floor was stripped when a recoat would have served, or the job was rushed at the one stage nobody inspects afterward.
The quick version: stripping dissolves every protective layer down to bare tile, and waxing rebuilds them from scratch. Because each cycle consumes a little of the tile itself, learning how to strip and wax floors matters less than learning to read a floor before ordering the service. What follows is the full process, what separates one quote from another, and how to make the result last.
What Does Stripping and Waxing Actually Involve?
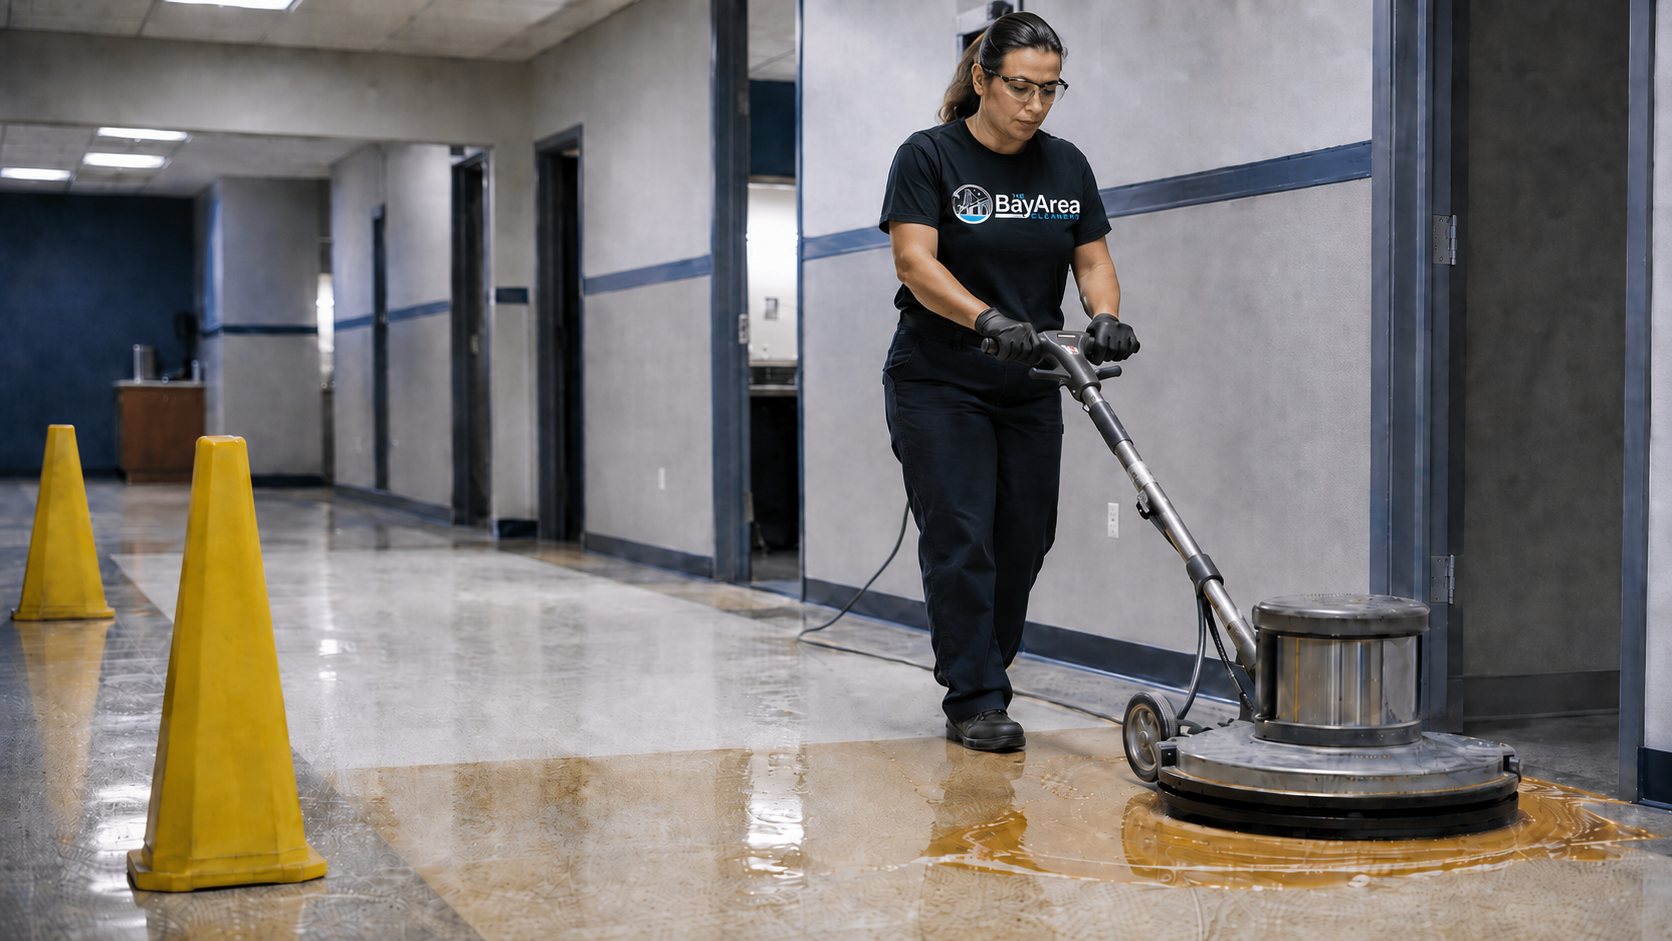
When contractors talk about how to strip and wax floors, they are describing two operations, not one. Stripping dissolves every protective layer and takes the floor back to bare tile. Waxing rebuilds those layers with fresh coats. Everything else in floor care — mopping, scrubbing, burnishing, recoating — works on top of that stack without removing it.
Why “wax” is the wrong word
Almost nothing sold as commercial floor wax today contains wax. It is acrylic floor finish, applied in thin liquid coats that level out and harden into a sacrificial layer. That distinction matters when reading a quote, because a contractor talking about coats and solids is describing finish, not wax.
The layer model
A properly maintained floor is a stack: bare substrate, a sealer that fills porosity, then several coats of finish. Daily traffic abrades the top of that stack. Routine maintenance removes soil and restores gloss to the upper coats. Stripping removes the entire stack, sealer included.
Takeaway: Stripping is not deep cleaning. It is chemical removal of every protective layer on the floor, and every strip is a small reset of the tile’s working life.
When Your Floors Need a Strip — and When They Do Not
Most facilities strip and wax floors somewhere between once a year and once every two years, with heavy-traffic entries needing it sooner than back-of-house areas. That said, a calendar is a poor substitute for reading the floor. Match the symptom to the treatment before assuming the answer is a strip.
| What you are seeing | What it means and what to do |
| Gloss has flattened, but the finish is intact and even | Surface abrasion on the top coat. Burnish, or scrub and recoat with one to two fresh coats. |
| Traffic lanes look grey or hazy against clean edges | Soil ground into the upper coats. Deep scrub and recoat the affected lanes only. |
| Finish is yellowed, especially in corners and along walls | Old finish that aged and built up where traffic never wore it down. Full strip and rebuild. |
| Finish is peeling, flaking or powdering | Bond failure, usually from a previous job where stripper residue was never rinsed out. Full strip and rebuild. |
| Black marks that scrub out but return within days | The finish is worn through to bare tile in those spots. Full strip and rebuild. |
The distinction is financial, not academic. A scrub and recoat costs a fraction of a strip, closes the area for a fraction of the time, and does not consume tile life. In practice, facilities that write a scrub-and-recoat cycle into their contract end up stripping noticeably less often than those that wait for the floor to fail.
Takeaway: If the finish is worn but sound, recoat it. Strip only when the finish itself has failed — yellowed, peeling, or worn through to tile.
How to Strip and Wax Floors, Step by Step
The steps to strip and wax floors are not complicated. What separates a job that lasts three years from one that fails in three months is discipline at stages five through seven, which is exactly where crews cut time when a building has to reopen.
- Clear and protect the area. Remove furniture, mask baseboards and door tracks, and post wet-floor signage at every approach. OSHA’s general requirements for walking-working surfaces, 29 CFR 1910.22, require the floor of each workroom to be kept clean and, to the extent feasible, dry, and every walking-working surface to be maintained free of hazards such as leaks and spills. A floor under active stripping is the most slippery surface a building will ever have.
- Dust mop and remove loose debris. Anything left on the floor gets dragged around by the machine and scratches the tile.
- Mix the stripper at the dilution printed on the label. Commercial strippers are strongly alkaline, which puts them under OSHA’s Hazard Communication standard, 29 CFR 1910.1200: safety data sheets accessible on site, containers labeled, staff trained, and gloves and eye protection worn. Over-diluting wastes the weekend; over-concentrating damages tile and adhesive.
- Apply generously and let it dwell. The chemical does the work, not the machine. Do not let the solution dry on the floor — re-wet as needed and work in sections you can finish.
- A low-speed rotary machine with a stripping pad is the standard tool. Edges and corners are done by hand, because that is where old finish is thickest.
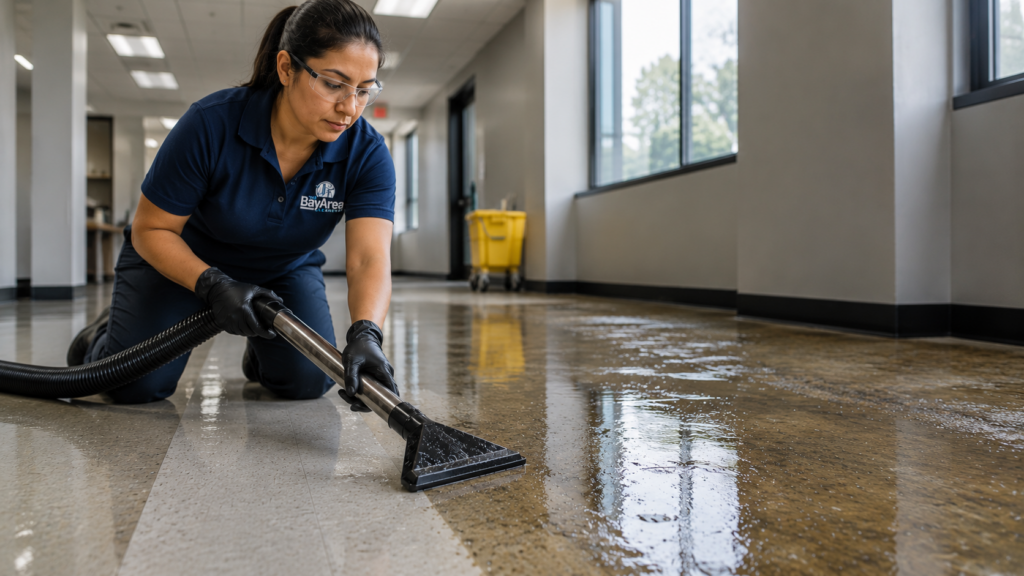
- Pick up the slurry completely with a wet vacuum or auto-scrubber. Every trace left behind becomes a bonding problem later.
- Rinse and neutralize, then rinse again. This is the step that gets skipped. Residual stripper is alkaline, and finish applied over it will not bond — that is the origin of most peeling floors.
- Let the floor dry completely. Applying finish to a damp floor traps moisture and produces a cloudiness that cannot be buffed out.
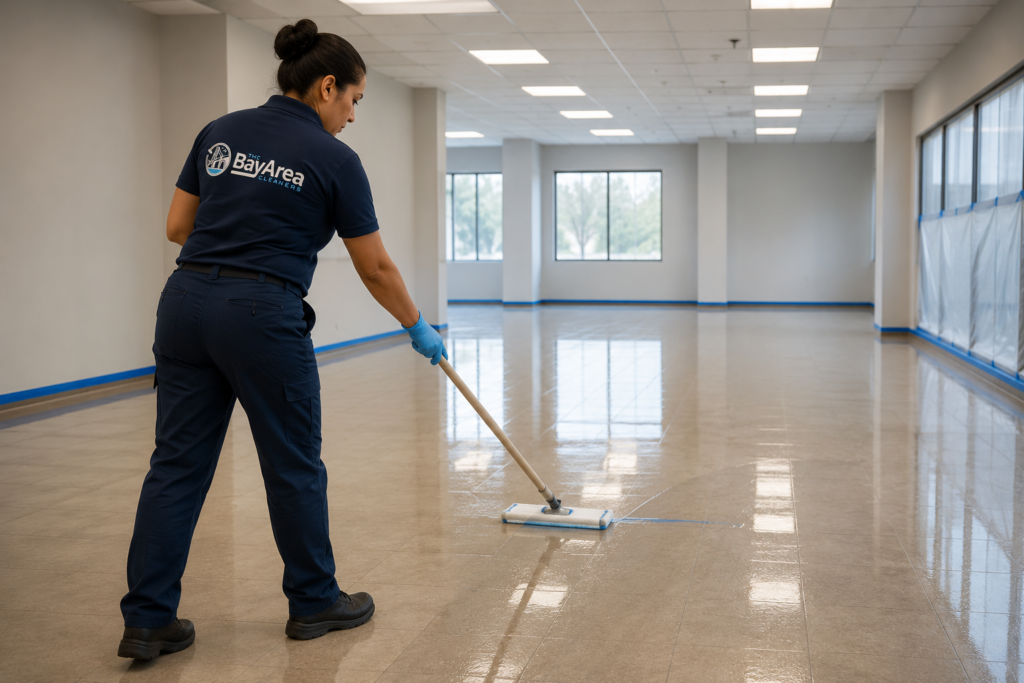
- Apply thin, even coats of finish, typically four to five, with the edges kept slightly back from the baseboard on the first coats. Allow each coat to dry before the next. Drying time stretches considerably in cold or humid conditions, which is why weekend jobs in winter run long.
- Let the finish cure before returning furniture or resuming heavy traffic. Finish dries to the touch long before it reaches full hardness, and furniture set down too early leaves permanent impressions.
Takeaway: The rinse is the job. A crew that strips well and rinses poorly hands over a floor that looks perfect on Monday and fails within a quarter.
Can You Strip and Wax Floors Without a Machine?
The question of how to strip and wax floors without a machine comes up constantly for small suites, single restrooms and back offices where wheeling equipment in is impractical. It is possible. Apply the stripper, let it dwell longer than you would with a machine, agitate by hand with a stripping pad on a long-handled holder, then recover the slurry with a wet vac or by repeated mopping and rinsing.
Be realistic about the trade-off. Hand stripping is slow, physically punishing, and produces uneven results across an open floor, because hand pressure varies in a way machine pressure does not. It is defensible for a small closed room. It is not defensible for a lobby.
Learning how to strip and wax floors with a machine is less about technique than about matching equipment to the space: a low-speed rotary for stripping and scrubbing, an auto-scrubber where the square footage justifies it, a wet vacuum for slurry recovery, and a high-speed burnisher only if the finish being applied is burnishable. Using a burnisher on a finish not formulated for it will haze the floor rather than polish it.
Takeaway: Hand stripping is a tool for small enclosed areas. Above roughly a few hundred square feet, machine time costs less than the labor and the inconsistency of doing it by hand.
What Drives the Cost of a Strip and Wax?
Contractors almost always price the work to strip and wax floors per square foot rather than per hour, which makes quotes look comparable when they are not. Two bids on the same floor can differ by two or three times, and the reason has very little to do with the tile and almost everything to do with what each contractor assumed.
| Cost driver | Why it moves the number |
| Number of finish coats | Four to five coats costs more than two and lasts substantially longer. This is the most common place a low bid saves money, and it is invisible on handover day. |
| Layers of old finish | A floor carrying a decade of accumulated coats needs more stripper, more dwell time and more passes than one stripped two years ago. |
| Edge and detail work | Corners, baseboards, under-fixture areas and door tracks are hand work. A quote that ignores them leaves a visible amber border. |
| Access window | Overnight, weekend and holiday labor carries a premium. A building that can close for a full weekend pays less than one that can only offer six-hour windows. |
| Furniture handling | Moving and replacing furniture is often quoted separately. Confirm which side is doing it before the crew arrives. |
| Floor layout | Open plans are fast. Cubicle mazes, fixed shelving and small partitioned rooms are not. |
When comparing a cost to strip and wax floors across several bids, normalize them first: same number of coats, same edge work, same access window, same furniture arrangement. Otherwise the cheapest quote is simply the one that assumed the least work. A strip and wax floors cost that looks unusually low almost always resolves into fewer coats, skipped edges, or a rinse stage that will not survive inspection two seasons later.
You may also like: How to Choose a Janitorial Service for Your Business: 7 Questions to Ask First
Takeaway: Ask every bidder how many coats they are quoting. If the answer varies between bids, you are not comparing prices — you are comparing different jobs.
Which Buildings Need It Most?
The chemistry does not change from one building to the next. The scheduling, the tolerance for downtime and the finish selection all do, which is why the same job is quoted so differently across property types.
Offices and multi-tenant buildings
The constraint is the access window. Lobbies and corridors are shared, so the work has to be sequenced around tenants who each believe their entrance is the priority. Split the floor into zones with a published schedule rather than closing the whole lobby, and plan cure time before Monday traffic rather than after it. Because these are the same corridors your office cleaning program covers nightly, the two schedules should be written together rather than negotiated separately.
Schools and churches
These are the easiest buildings to do well, because they have real closures. Summer break, winter break and the gap between weekend services are all long enough for a full strip, several coats and a proper cure. So the failure mode here is not technical but logistical: the window is known twelve months out and still gets booked three weeks in advance.
Retail
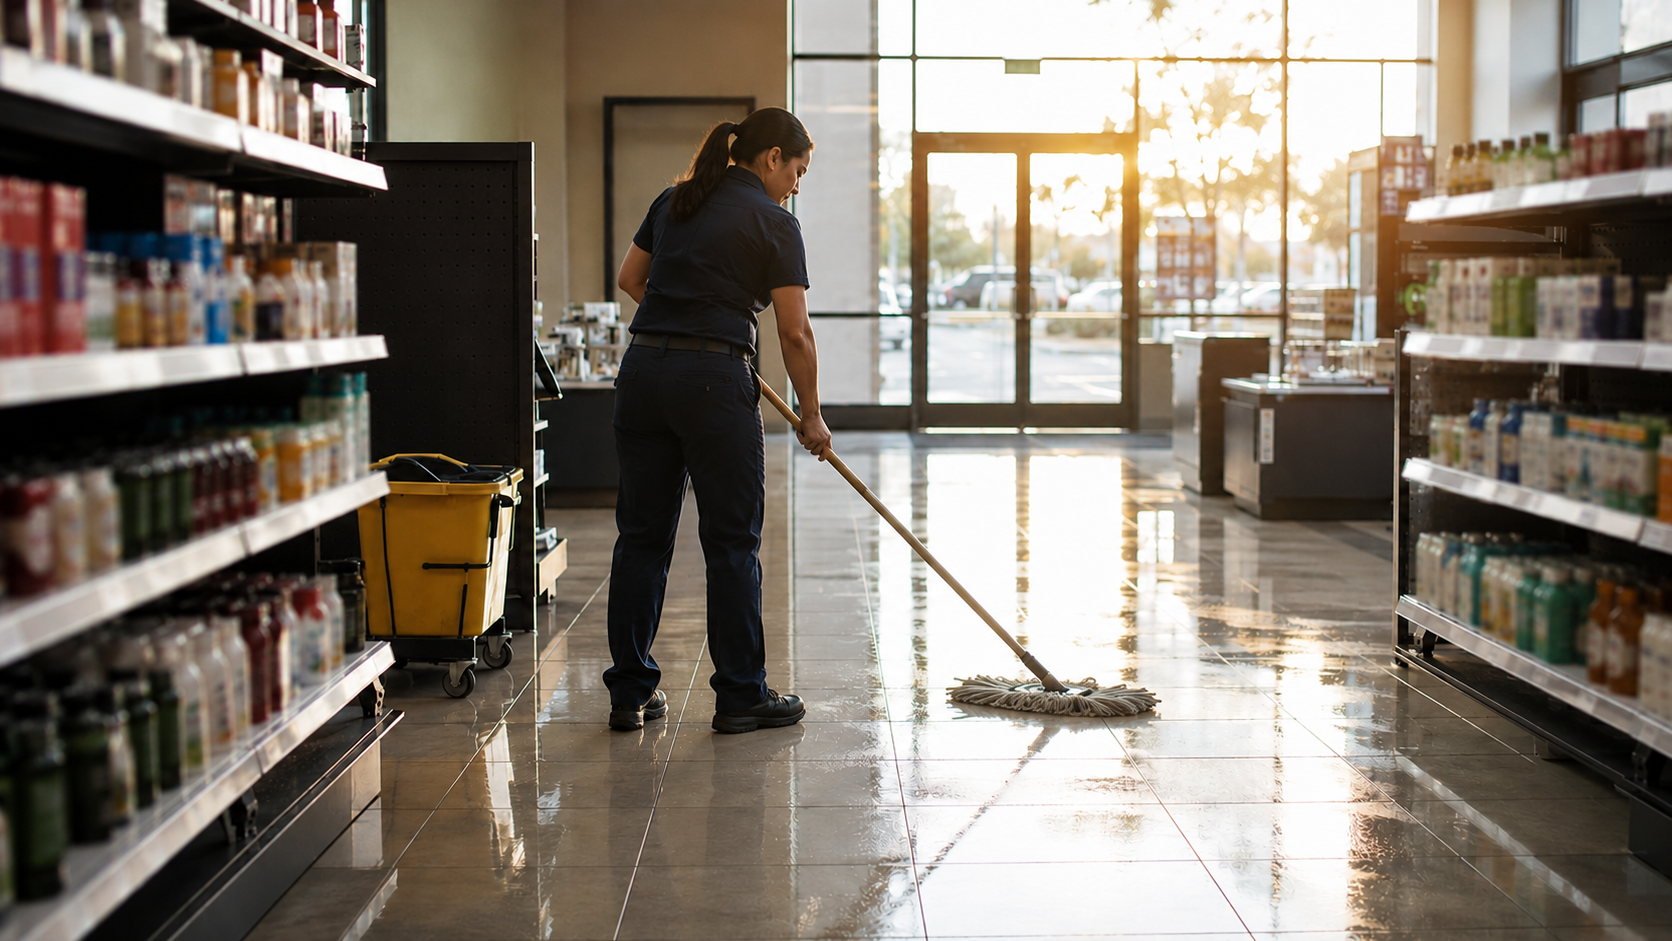
Retail cannot close, so the work happens overnight in sections and the floor has to be walkable by opening. Consequently, plan for fewer and larger zones and a finish with a faster recoat window, and resist any proposal to strip a full sales floor in a single night.
Medical and dental offices
Downtime and odor are the constraints. Low-odor stripper and finish are worth the premium in a building where patients arrive at 8 a.m., and treatment areas need their cure time protected, because equipment rolled back over uncured finish marks it permanently. Restroom floors in these buildings usually need their own schedule, coordinated with the restroom cleaning scope rather than layered on top of it.
You may also like: Commercial Window Cleaning for Hallways & Common Areas in Multi-Tenant Buildings
Takeaway: Book the closure window before booking the crew. A perfect strip with insufficient cure time produces a worse floor than the one you started with.
How to Protect the Finish So You Are Not Doing This Again Next Year
Most of the soil that destroys a floor finish arrives on shoes. The programs that stretch a strip cycle from twelve months to twenty-four all attack the problem at the entrance rather than at the floor.
- Run a real matting program: scraper matting outside, absorbent matting inside, long enough that a person takes several full steps before reaching finished floor. Short mats do almost nothing.
- Dust mop daily, before any wet work. Mopping a gritty floor grinds the grit into the finish.
- Respond to spills within minutes rather than at the end of the day. Sugar, coffee and cleaning chemicals left standing will etch a finish.
- Schedule scrub and recoat on a cycle, not on complaint. Two fresh coats twice a year is cheaper than a strip and is the highest-return line in a floor care budget.
- Burnish only if the finish supports it, and only on a clean floor. Burnishing dirt polishes the dirt into the coating.
Daytime spill response is the piece a nightly-only contract cannot deliver, and it is usually what decides whether a lobby floor reaches its second year in good condition. In buildings with heavy midday traffic, that gap is what day porter coverage exists to close, working alongside the scheduled floor care program rather than replacing it.
Takeaway: A strip and wax is an event. What determines how long it lasts is the unglamorous daily and quarterly work that happens in between.
Frequently Asked Questions
How often should commercial floors be stripped and waxed?
Most buildings strip and wax floors somewhere between once a year and once every two years, and heavy entries sooner than back-of-house areas. Read the floor rather than the calendar, since a building with a disciplined scrub-and-recoat cycle can often stretch the interval considerably.
How long does a strip and wax take?
Plan for a full closure of the area rather than a few hours. The stripping and rinsing take one working session, then each finish coat needs drying time before the next, and the floor needs cure time before furniture returns. Cold or humid conditions stretch every one of those stages.
How many coats of finish should be applied?
Four to five thin coats is the standard for a commercial floor after a full strip. Fewer coats is the most common shortcut in a low bid, and it shortens the life of the job substantially.
Can you strip and wax floors without closing the building?
Not the area being worked on. However, you can zone the job so only part of the floor closes at a time, which is how retail and multi-tenant lobbies are normally handled. Expect it to cost more in labor than a single full closure.
What is the difference between stripping, scrubbing and burnishing?
Stripping removes all the finish down to bare tile. Scrubbing removes soil and the damaged top layer so fresh coats can be applied over what remains. Burnishing uses a high-speed machine to restore gloss without taking the finish off. Only stripping resets the floor to bare tile.
How much does it cost to strip and wax floors?
Pricing turns on square footage, how many layers of old finish are already on the floor, the number of coats being quoted, how much hand edge work the layout demands, and the length of the access window. Because those five move independently, a cost to strip and wax floors quoted without a site visit is a guess rather than a number.
Not Sure Whether Your Floor Needs a Strip or a Recoat?
If the finish is dull but even, a recoat will probably do the job for a fraction of the cost. If it is yellowed, peeling or worn through to tile, it needs a full strip. We can walk the floor, tell you which of the two you are actually looking at, and document the scope in writing before anything is booked. The Bay Area Cleaners handles commercial floor care and office cleaning for offices, schools, churches, retail and multi-tenant properties across the San Francisco Bay Area.
Call 707-656-9339 or request a free estimate, and we will assess the floor before quoting the job — including telling you when a recoat will do the work of a strip.